Sunday, September 30, 2012

Velvet

With fall come dropping temperatures, changing leaves, and warmer clothes. This fall, nails are wearing their own fur coats with a fantastic new look- velvet.

Flocking provides the furry feel and sleek slink to this season's new nail fad. While a full-nail covering is a great look all its own, the combination of a glittery shimmer with the matte finish given by the look of velvet was just too great too pass on.

Friday, September 28, 2012

Monday, September 24, 2012

Having this much fun with nail polish can't be healthy.

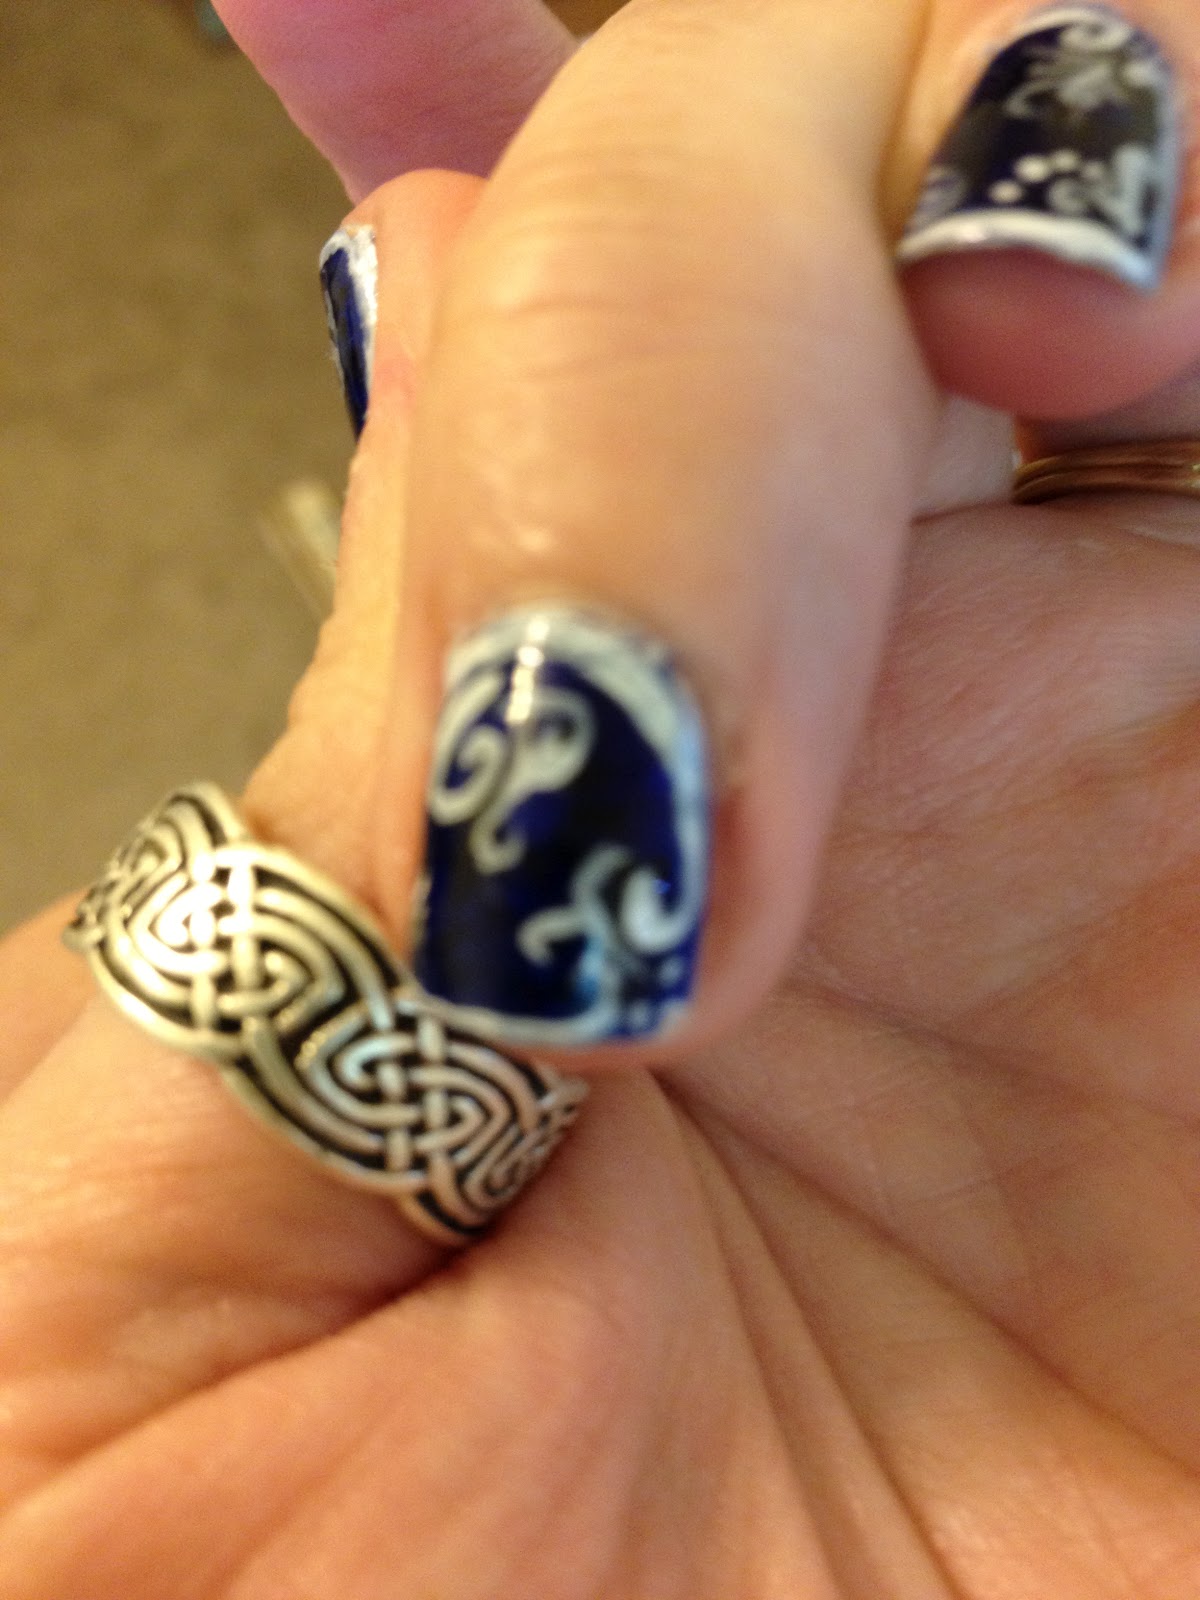
I think it's safe to say I'm approaching the end of my summer blahs. And with it comes the stir-crazy creativity! I really wonder if having as much fun playing with nail polish & polymer clay as I've been having is entirely healthy. Oh, well. It's non-toxic. That means it's good for you!

I'm in a really good mood. Today is my wedding anniversary - 8 years. Once you figure in the time we dated, I've now spent well over a decade with the most wonderful man in the world. 

As a special anniversary present, I made him a charm for... well, I'm not really sure what for. His phone doesn't have anywhere to hang a charm, and he hates key chains. Maybe I'll have to buy him a charm bracelet. I'm sure he'd like that. 

And then, as an extra-special anniversary present to him, I painted my nails to match the shirt I'm wearing. If he notices, I'll be super impressed!


And now I'm playing around with new techniques - using striping tape to pattern color overlays. Oh and I just got a new idea as I typed that! OK moving on!

This design turned out incredibly gorgeous, and now I'm trying out variations on a theme. This one was a pretty simple idea - stripes of color down the nail. Once they're totally dry, striping tape went across the nail, cut long enough to leave plenty to easily grab. Then a solid coat of glossy black (I used Wet 'n  Wild Wild Shine in Black Creme). While it's still wet, grab one end of the topmost strip of tape, and just peel it back, showing the colors hidden by the blackout on top.


Trying variations is going to take some time & experimentation. This one turned out interesting, but not great - I used a solid color base, then added pattern using a stamping plate. I top-coated to keep the stamped image secured (sometimes they can peel up, otherwise), then striped & coated in black. It turned out interesting, but not as great as I hoped.


And last but not least, a definite must-do design next time I'm at a heavy metal concert. Or possibly a motorcycle rally. Matte black, with 3D spikes in silver, made from polymer clay.


In conclusion, I have a bit more energy than I have in awhile. Could you tell?


Saturday, September 22, 2012

I'm going to have a sister!

My baby brother is engaged! Wedding plans are proceeding nicely, and I'll be a bridesmaid. Or matron. Or possibly just comic relief in a matching dress. Who cares? I'll be doing nails for the bride!

We're still hashing out a plan for dresses to go with various body types, and all the fun that is planning a wedding. I, for one, am just worried about the nails. ;)

The chosen wedding colors were inspired by a bouquet. As an Aggie, I'm VERY glad the chosen shade for our dresses is the purple, not the burnt orange. Otherwise, I might burst into flame. Then it'd be burnt Aggie, and I doubt that'd fit so well into the color scheme. It'd just be bad.


So, the bride's nails will be conservative and understated and traditional. She's beautiful to begin with, and all brides are beautiful, and she's going to be breathtaking. However, with the bride going with such an incredibly polished and reserved look, we need some pop of color on the bridesmaids. Gradient to the rescue!


Well, it was a fun gradient & I think the colors match pretty well, but I get the impression the other bridesmaids aren't quite as willing to push the envelope as I am. Oh, well ;)   So, now that that look is boring, we have orange to purple gradient, upcycled!


Monday, September 17, 2012

Snake skin

Slithering your way today - snakeskin nails! I've seen actual snakeskin nails - trimming shed skin meticulously to the size of each nail, attaching, and sealing to last a few weeks. Evidently, many nail salons offer this look for the everyday-low price of ~$300. I think I'd pass on that price tag and just do it myself... and I had snakeskin laying around and had nothing better to do with it, I might've tried that. Unfortunately, I'm fresh out of snake bits laying around the house, so I'll just have to mimic the pattern with paint.

I achieved this look by mottling greens and browns, then stamping a sheer silver over them with one of my Bundle monster plates.


Thursday, September 13, 2012

Border / Outline Nails


I must admit, I was NOT a fan of this look when I first saw it. Simple concept: a thin border all along the edges of the nail. It looked strange, and pointless - it'd require a new manicure once a week, just due to that line moving as the nail grows!

And then it occurred to me that I redo my polish at least that often anyway, so that really wasn't much of a reason to avoid it. I also think the color scheme when I first saw it was a bit of a turn off - a very light cream/fleshtone, with a black outline. Just looked like dirty nails.


Yuck. No, thank you.

As I thought about it a bit, though, I realized it really wouldn't be that hard to turn it into something I'd like. Apply a palette shift, break up that stark, solid line with a little filigree, and voila! You have a frame for whatever picture you want to feature on your fingers today.

It is, after all, nail Art!


Freehand filigree is always a great way to fill up an empty space. This look, I think, I could get used to.

Here's a closer look at the detail on those fingers - each is a bit different, which is both fun to do and keeps it looking hand-drawn, since you're not going to find a press-on pattern or stamp that's just a little bit different for every finger: